Shed Roof Drainage
August Bank Holiday 2025
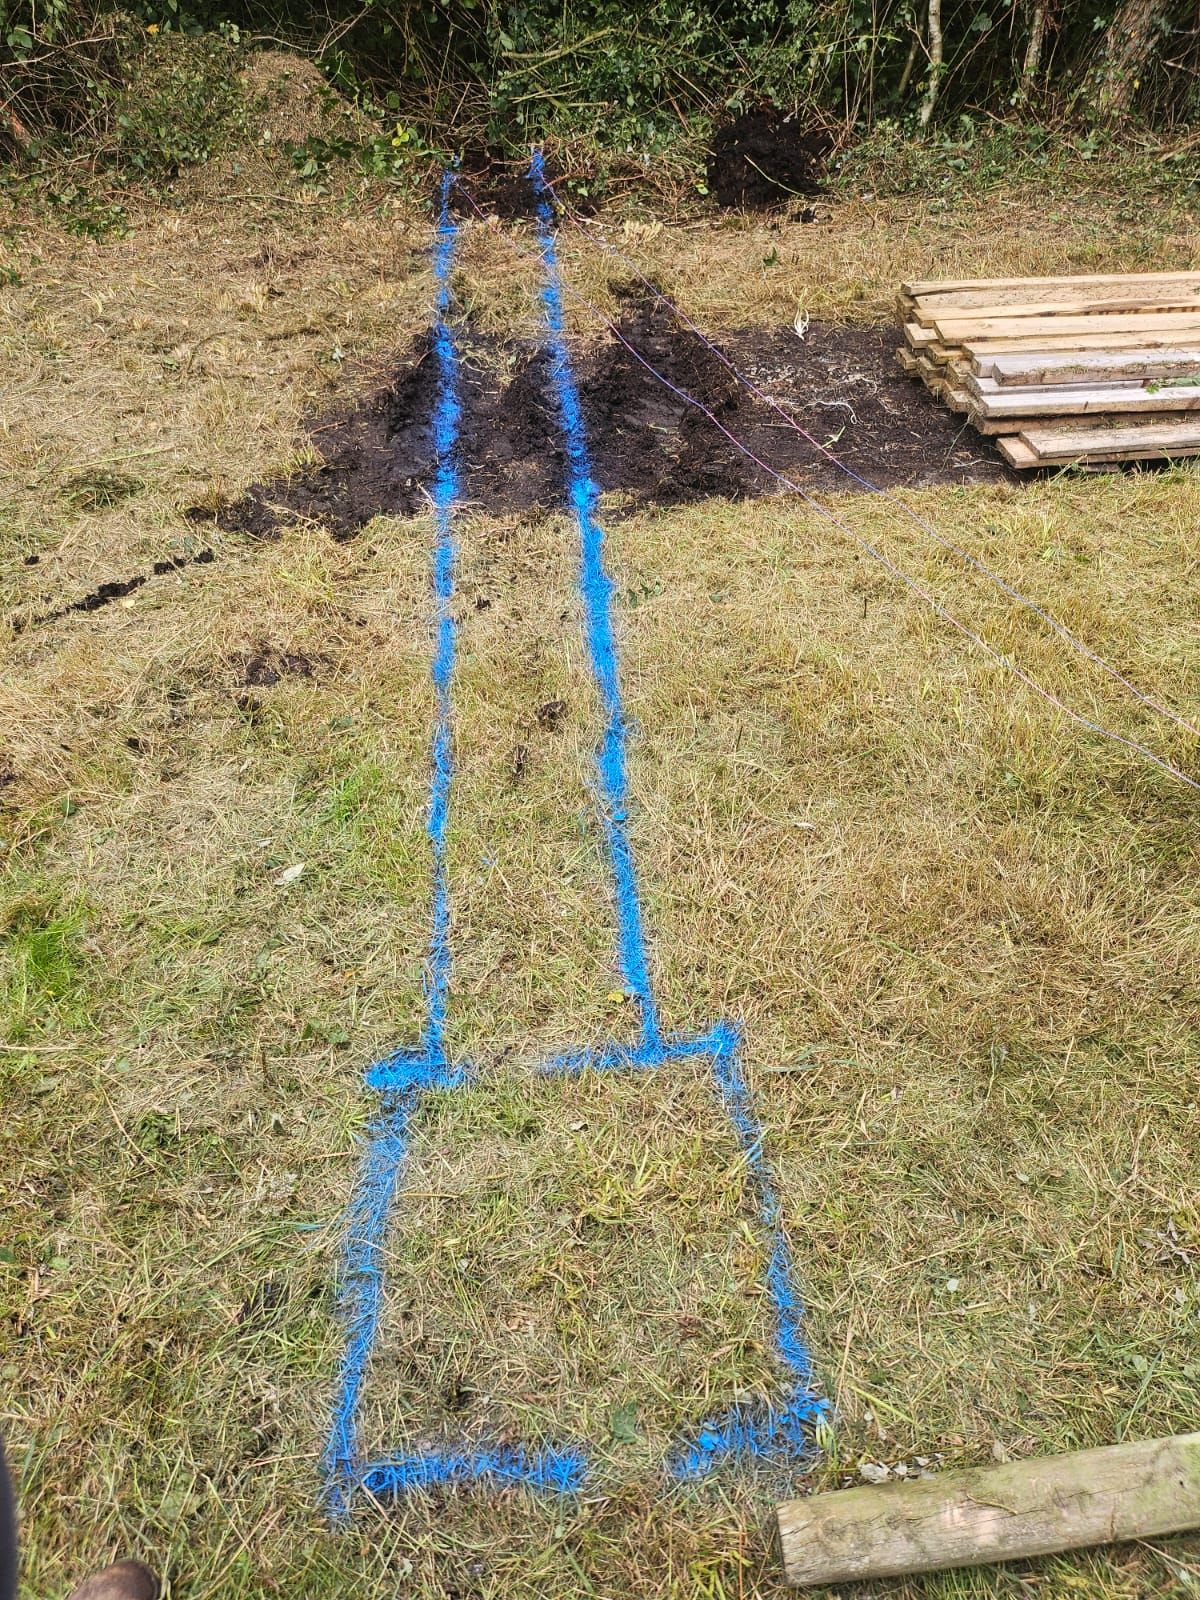
Mark it all out
Firstly we decided where our gully and access was going to go. We found a nice straight line to the drain with the forest and marked with a line first and then with blue construction spray paint so it would be easy to see when on the digger. The channel we marked out was just over 300mm which fits just nicely with the gully and the small bucket size for the digger. We had a small 0.8T digger for this project as we didn't need much reach or depth in the trench.
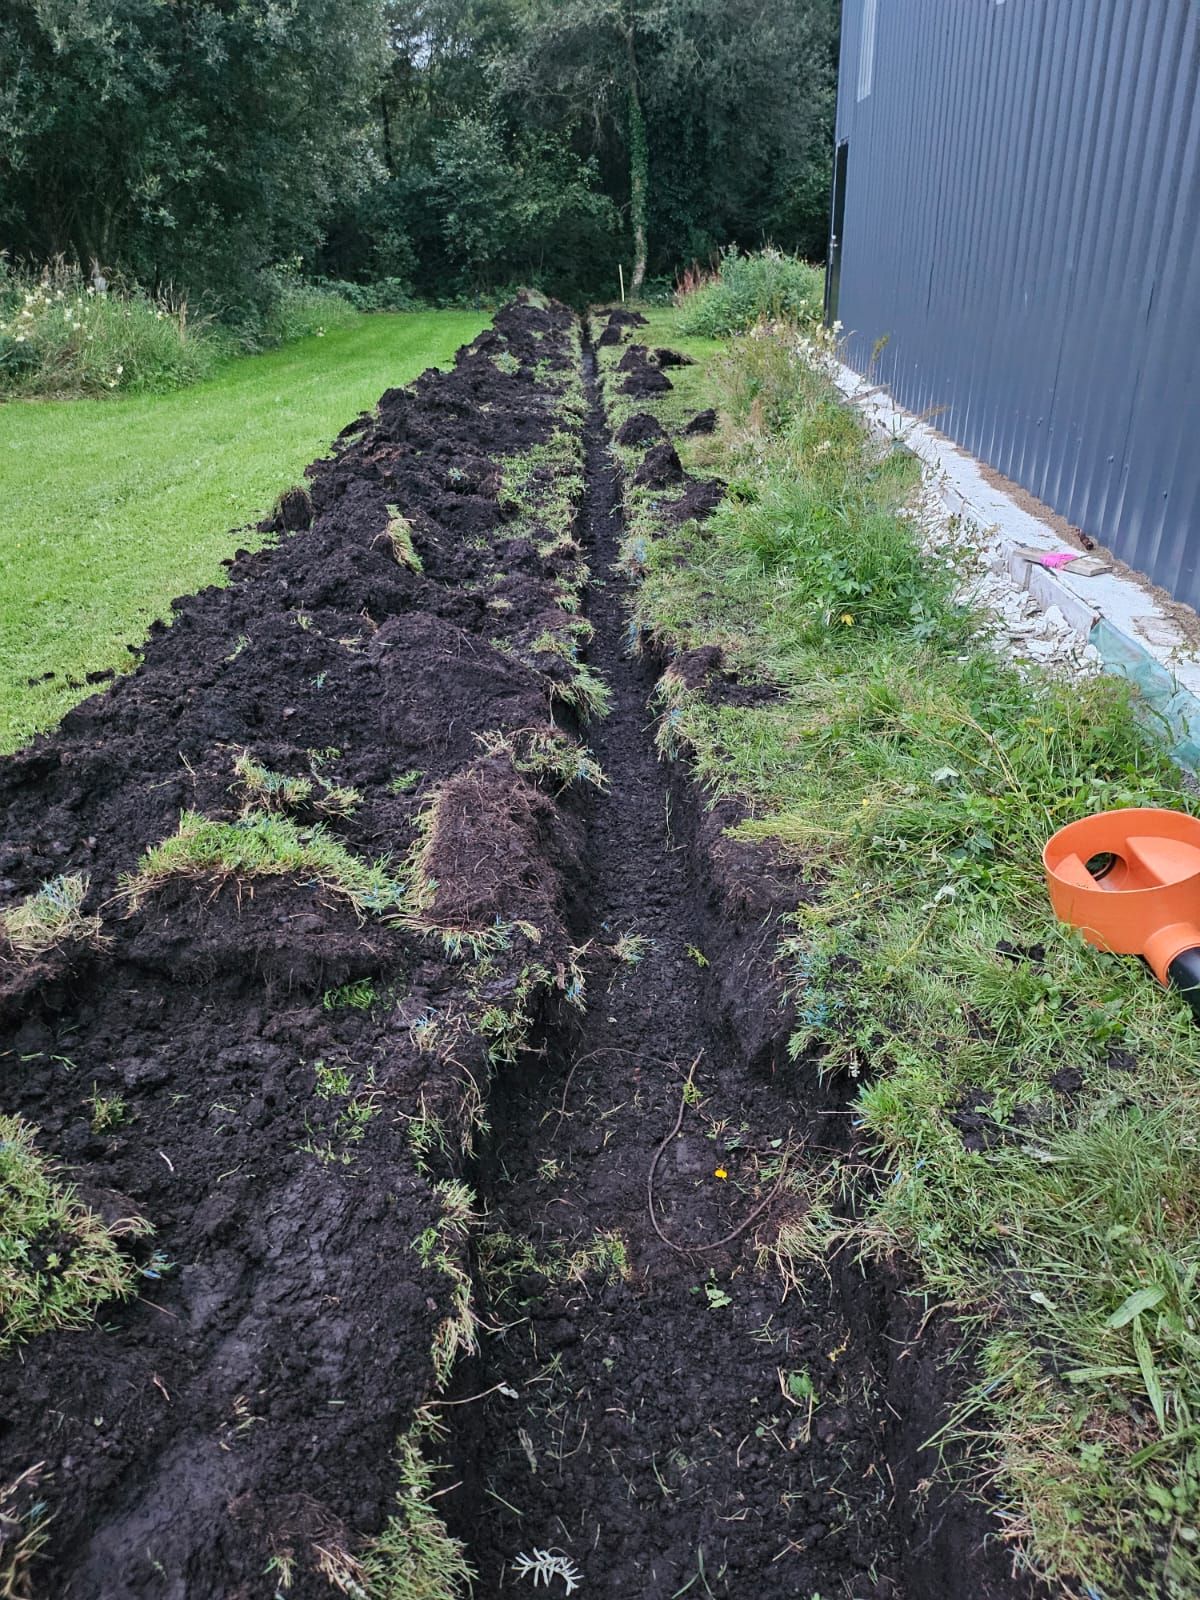
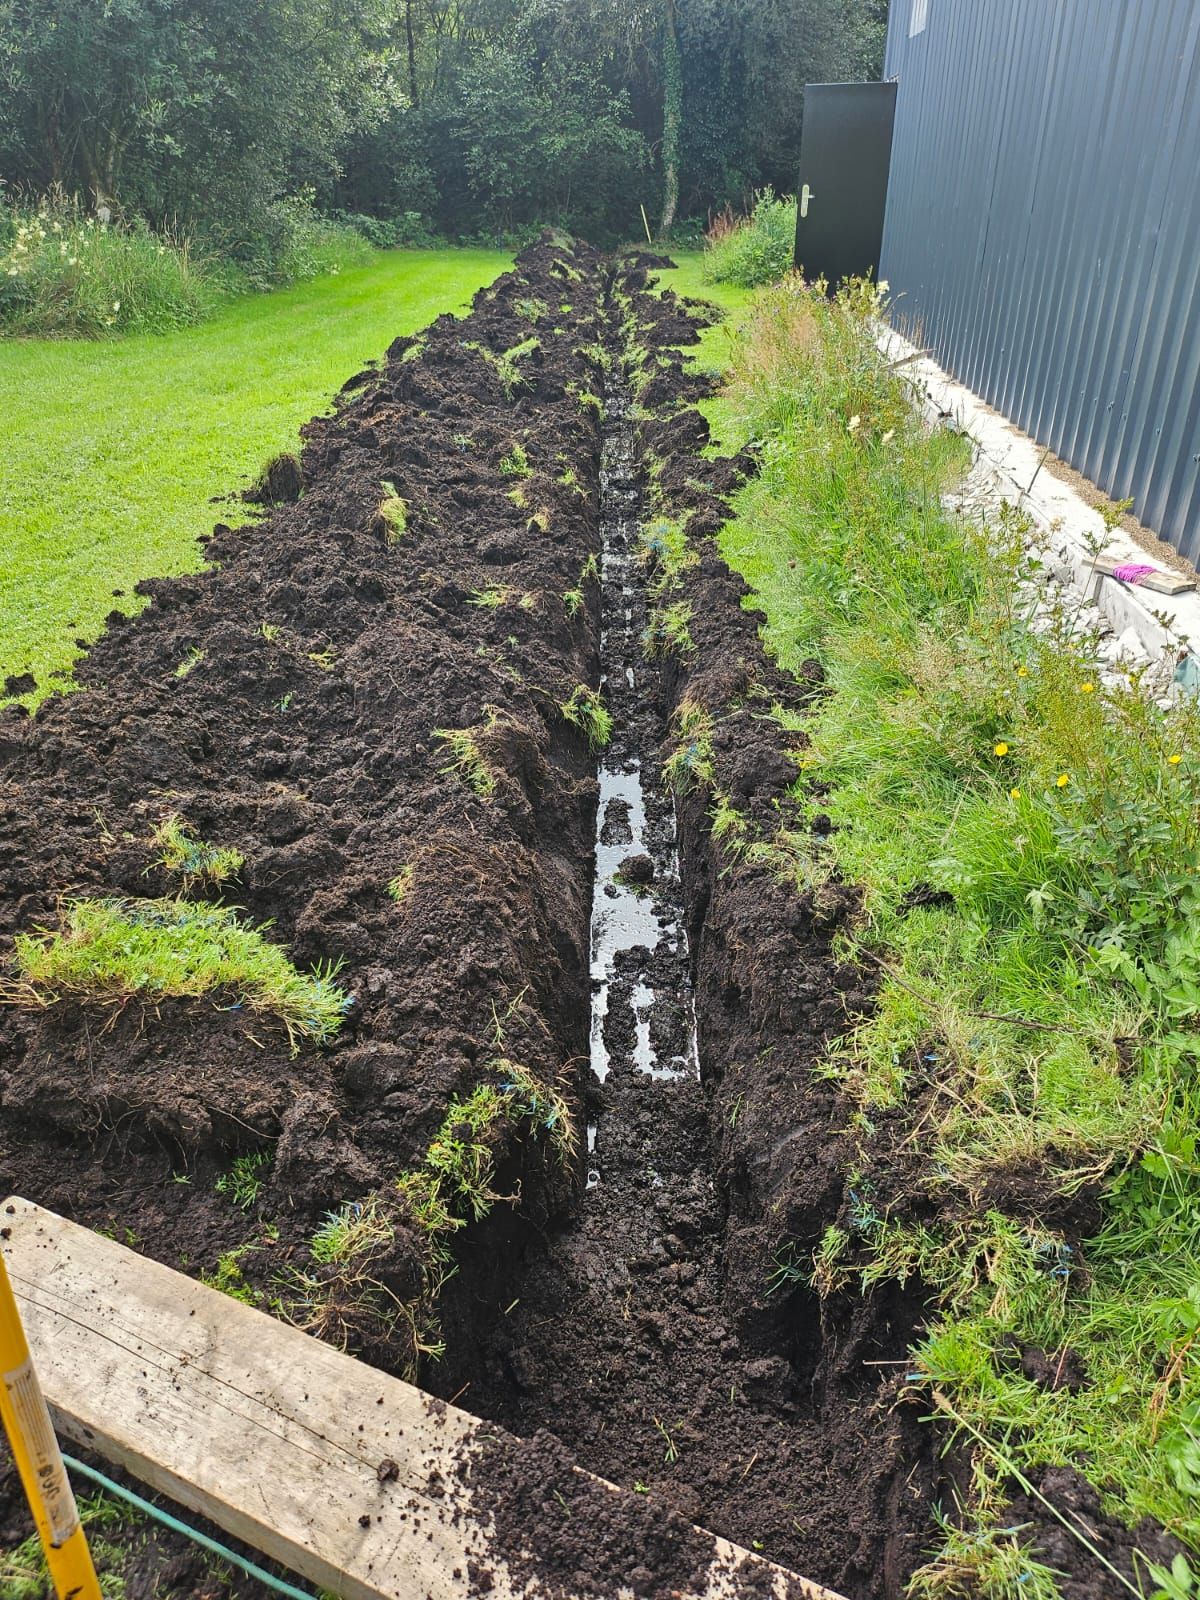
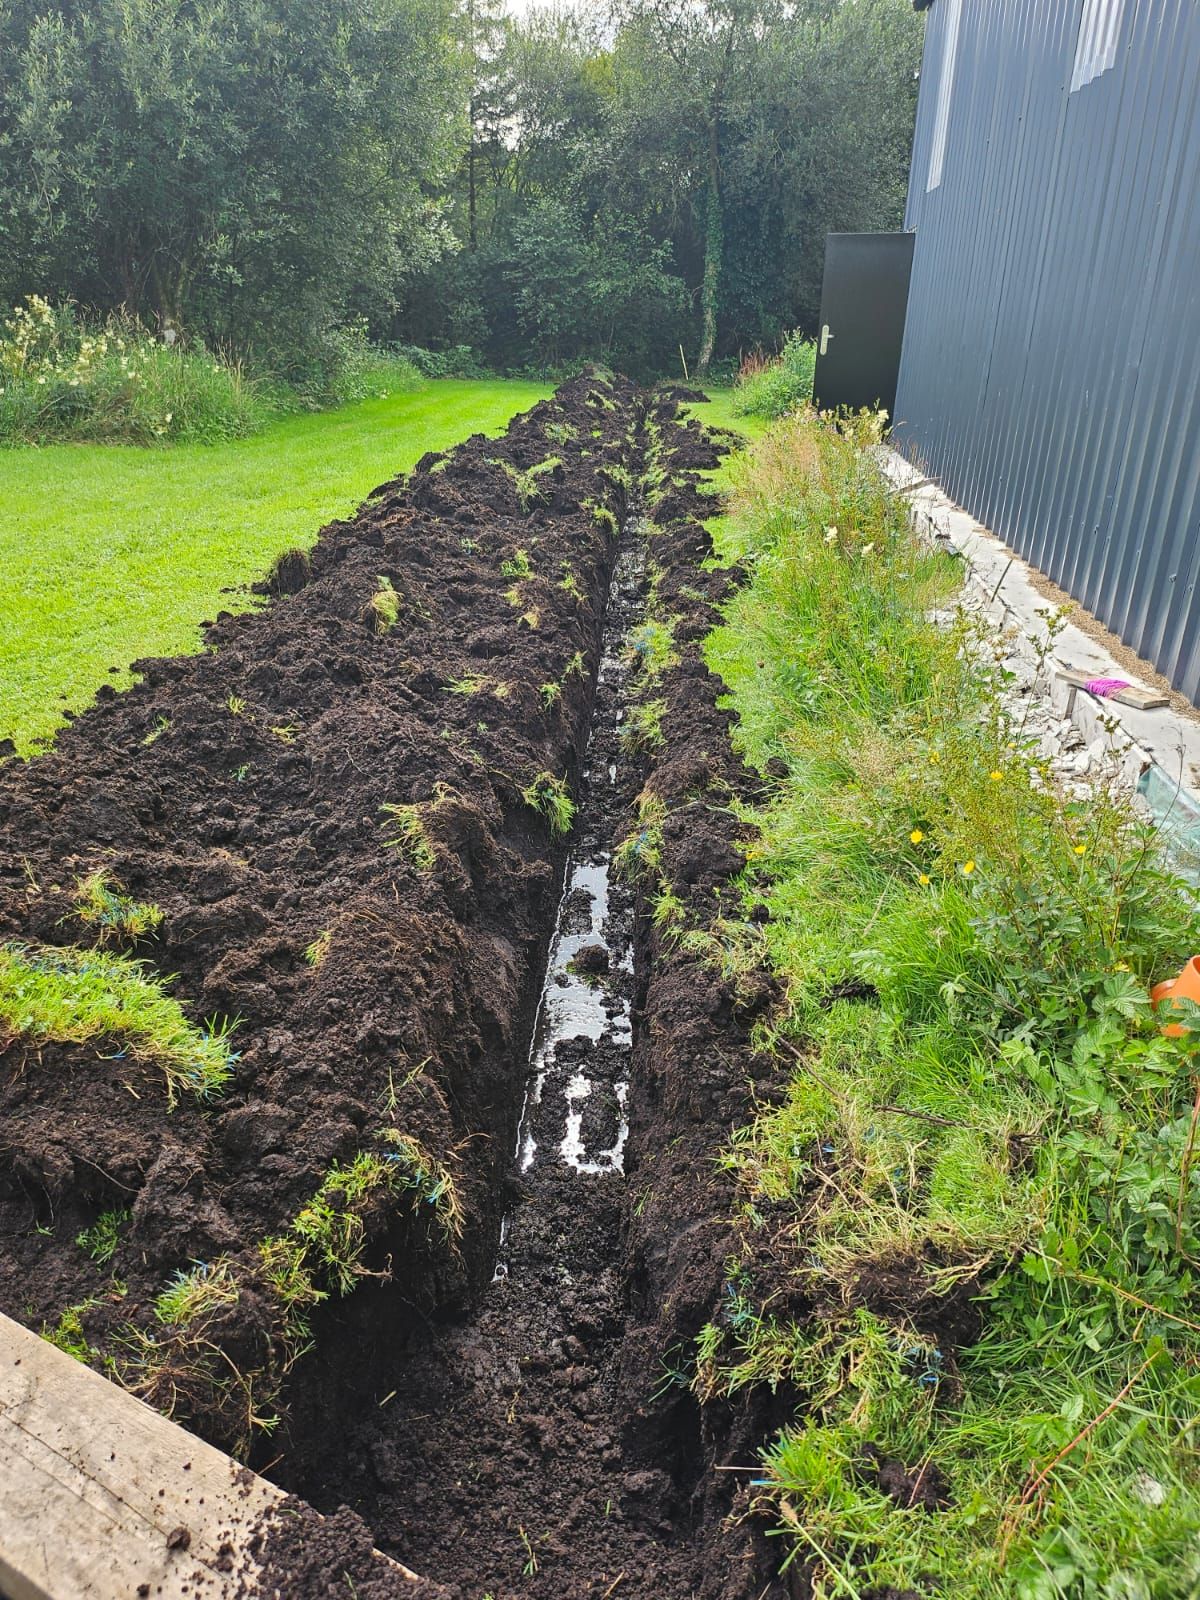
Dig the trench
We dug along the marked out line and made a slightly bigger area for the gully so that we can be sure we initially have access all the way around. To begin with the trench was too deep meaning we would not get a good fall all the way along the drain to be sure water (especially water with sediment) would keep flowing and not settle along the way to the drain. This meant we had to back fill a bit. The longer the trench was there the more water from the rest of the field drained into it making the base too soft to walk on. Backfilling helped a lot with this and we measured and tamped as we went along to ensure that run off slope.
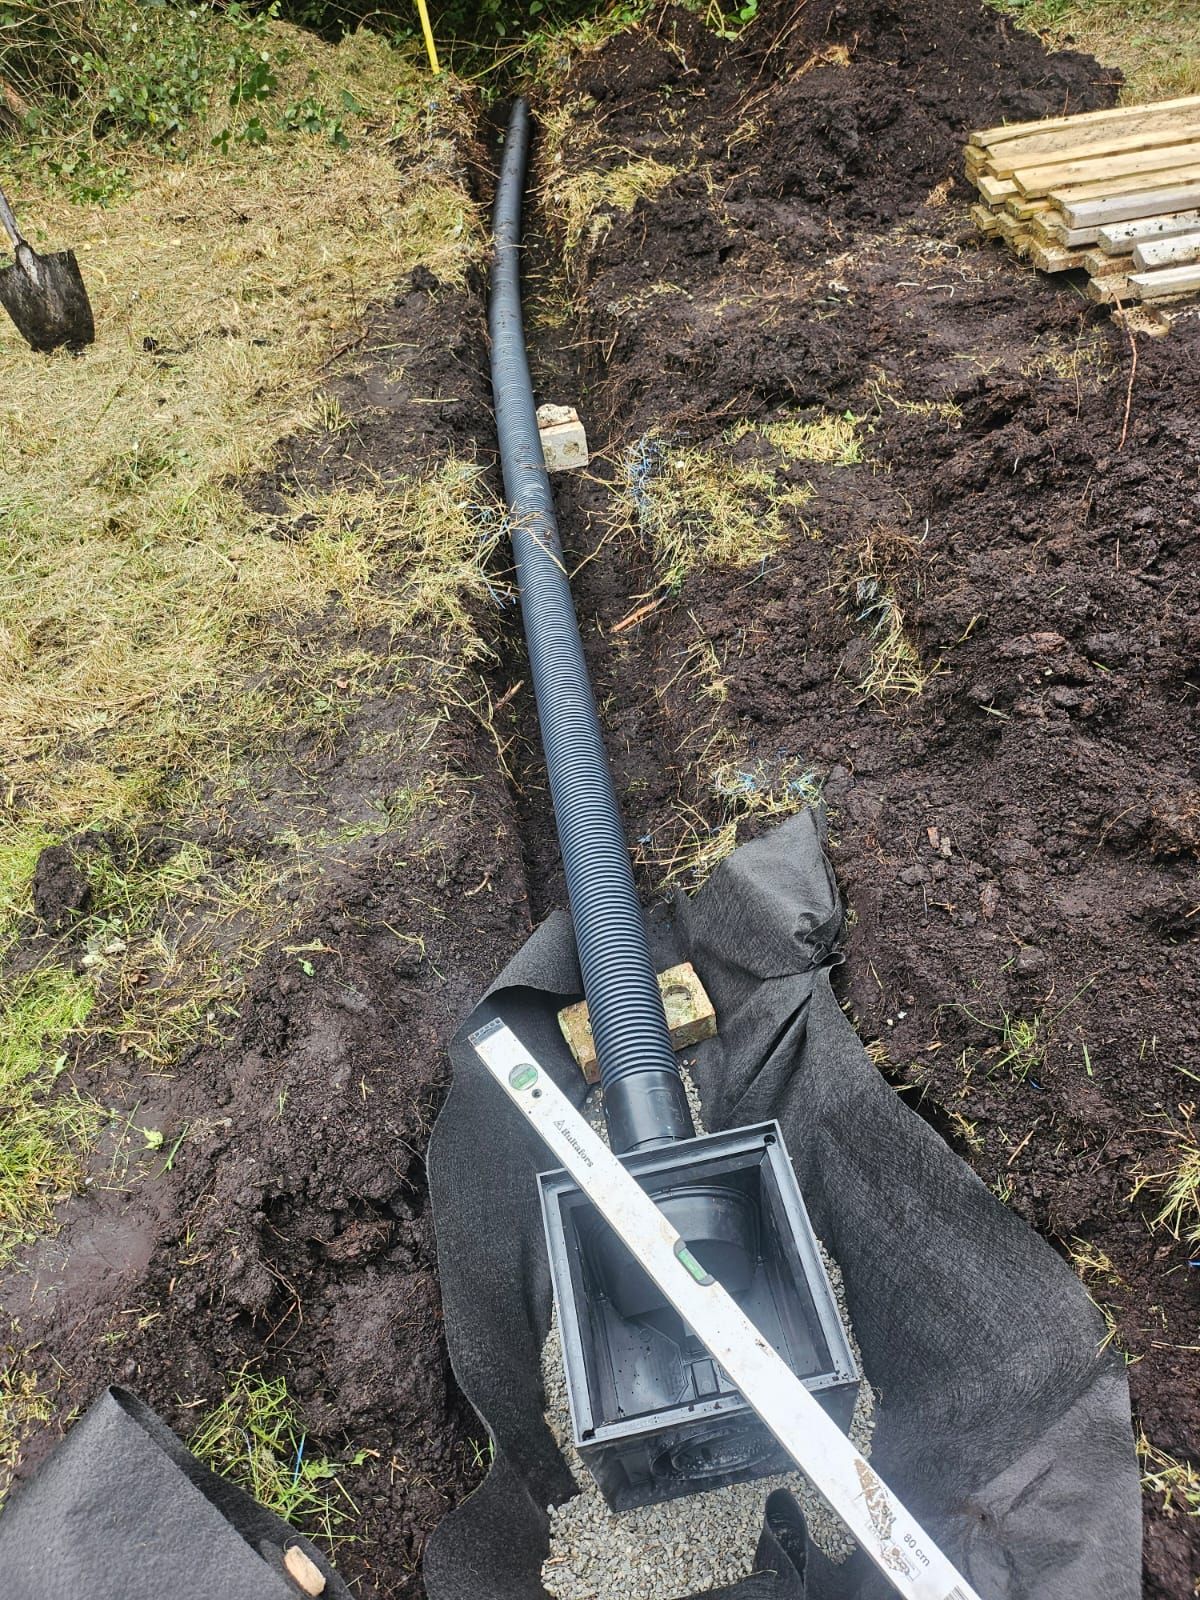
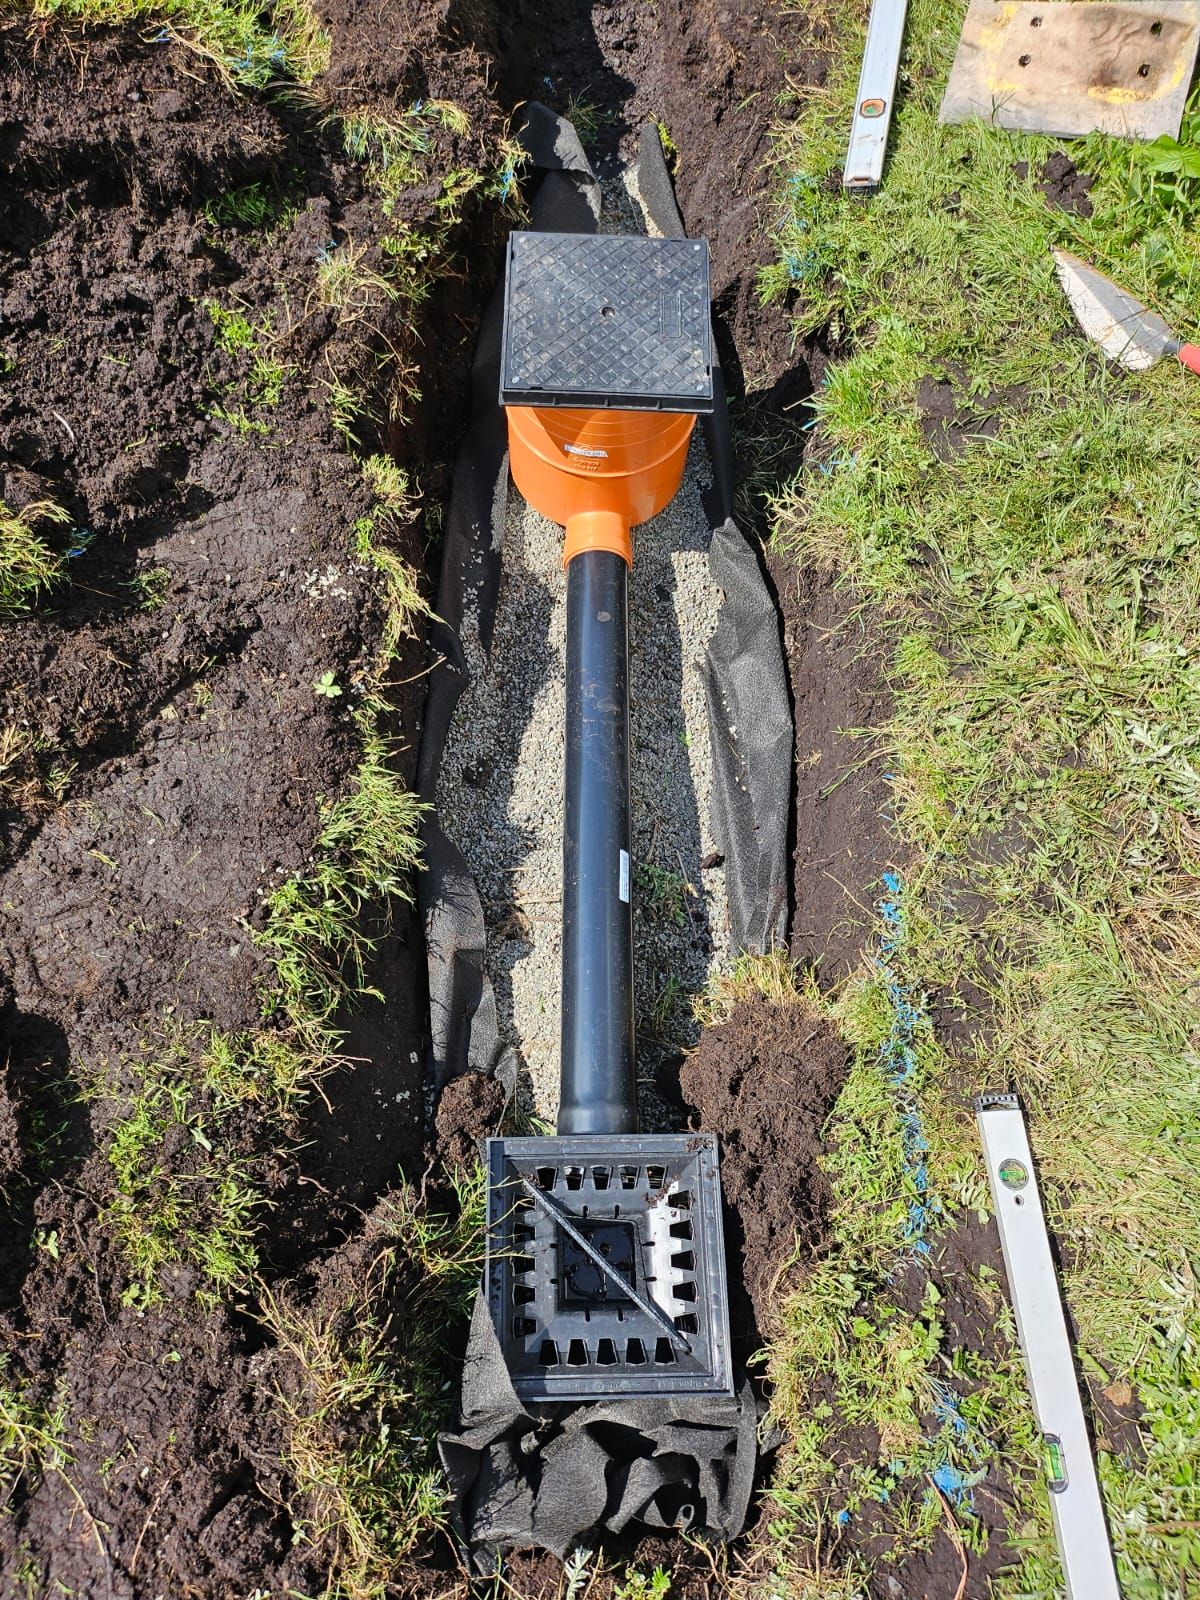
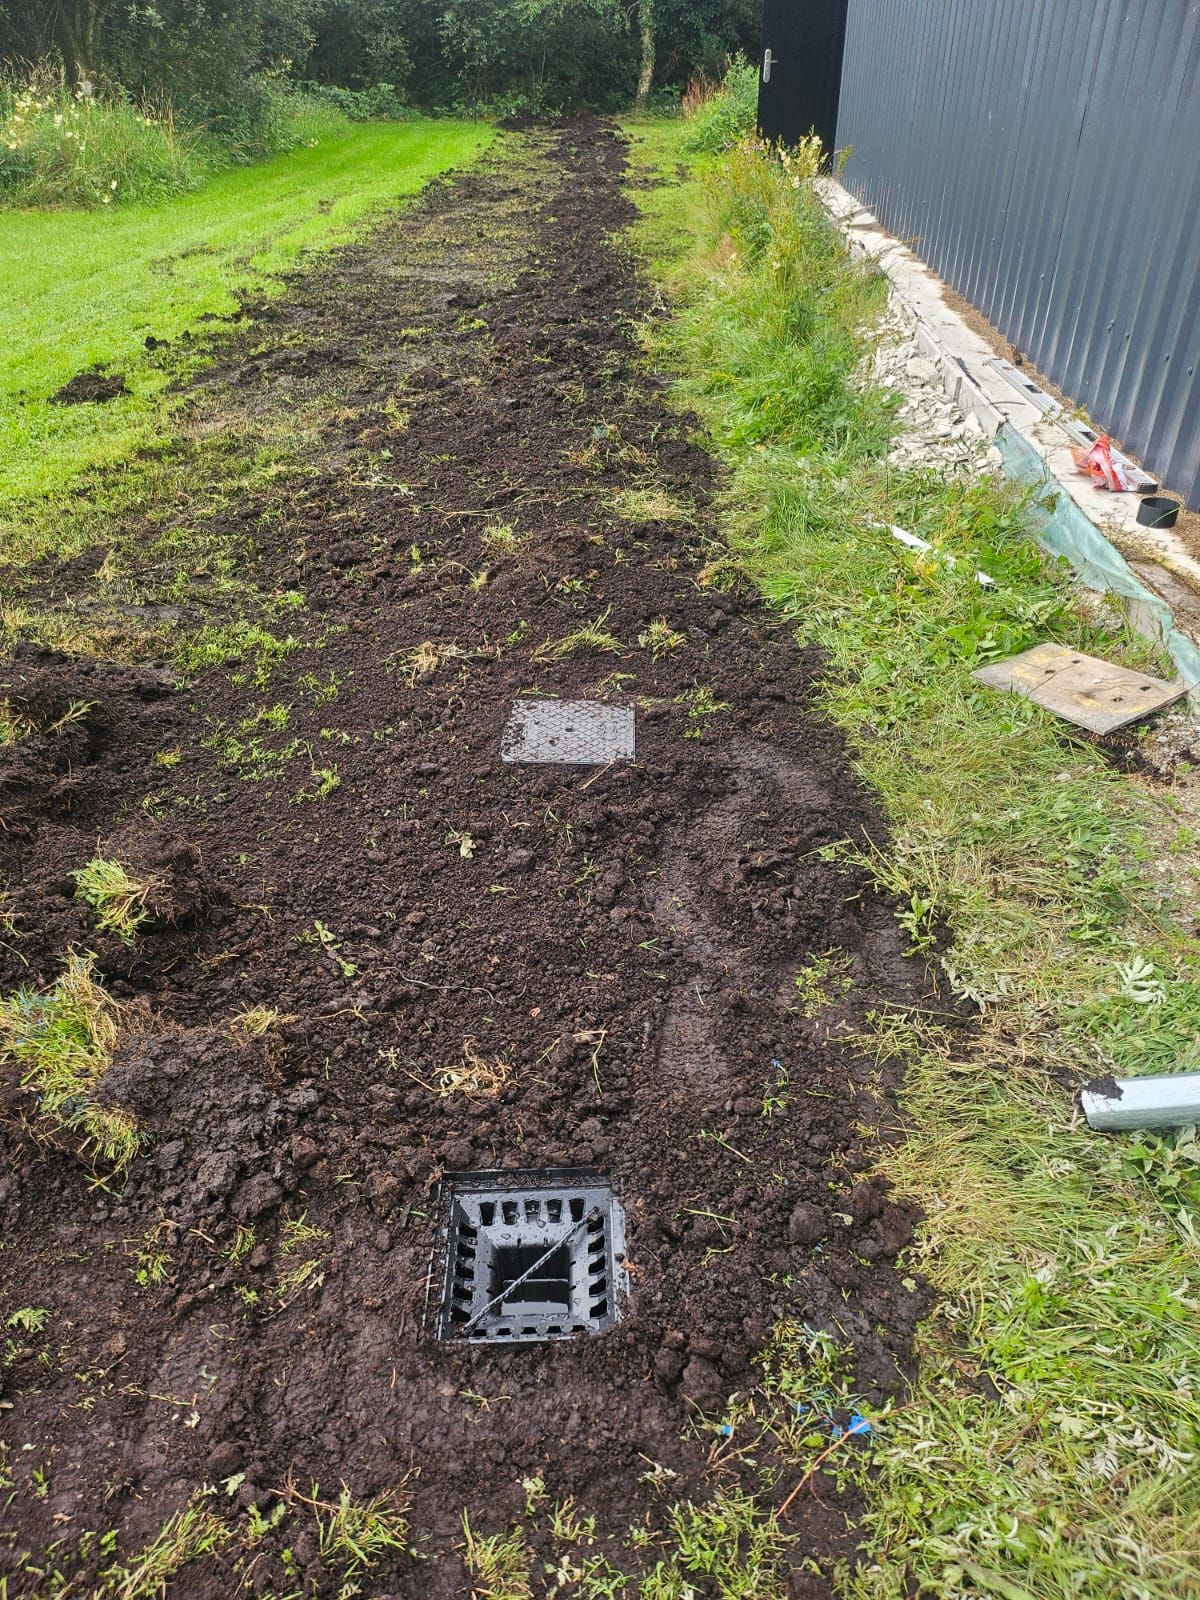
Fit the gully
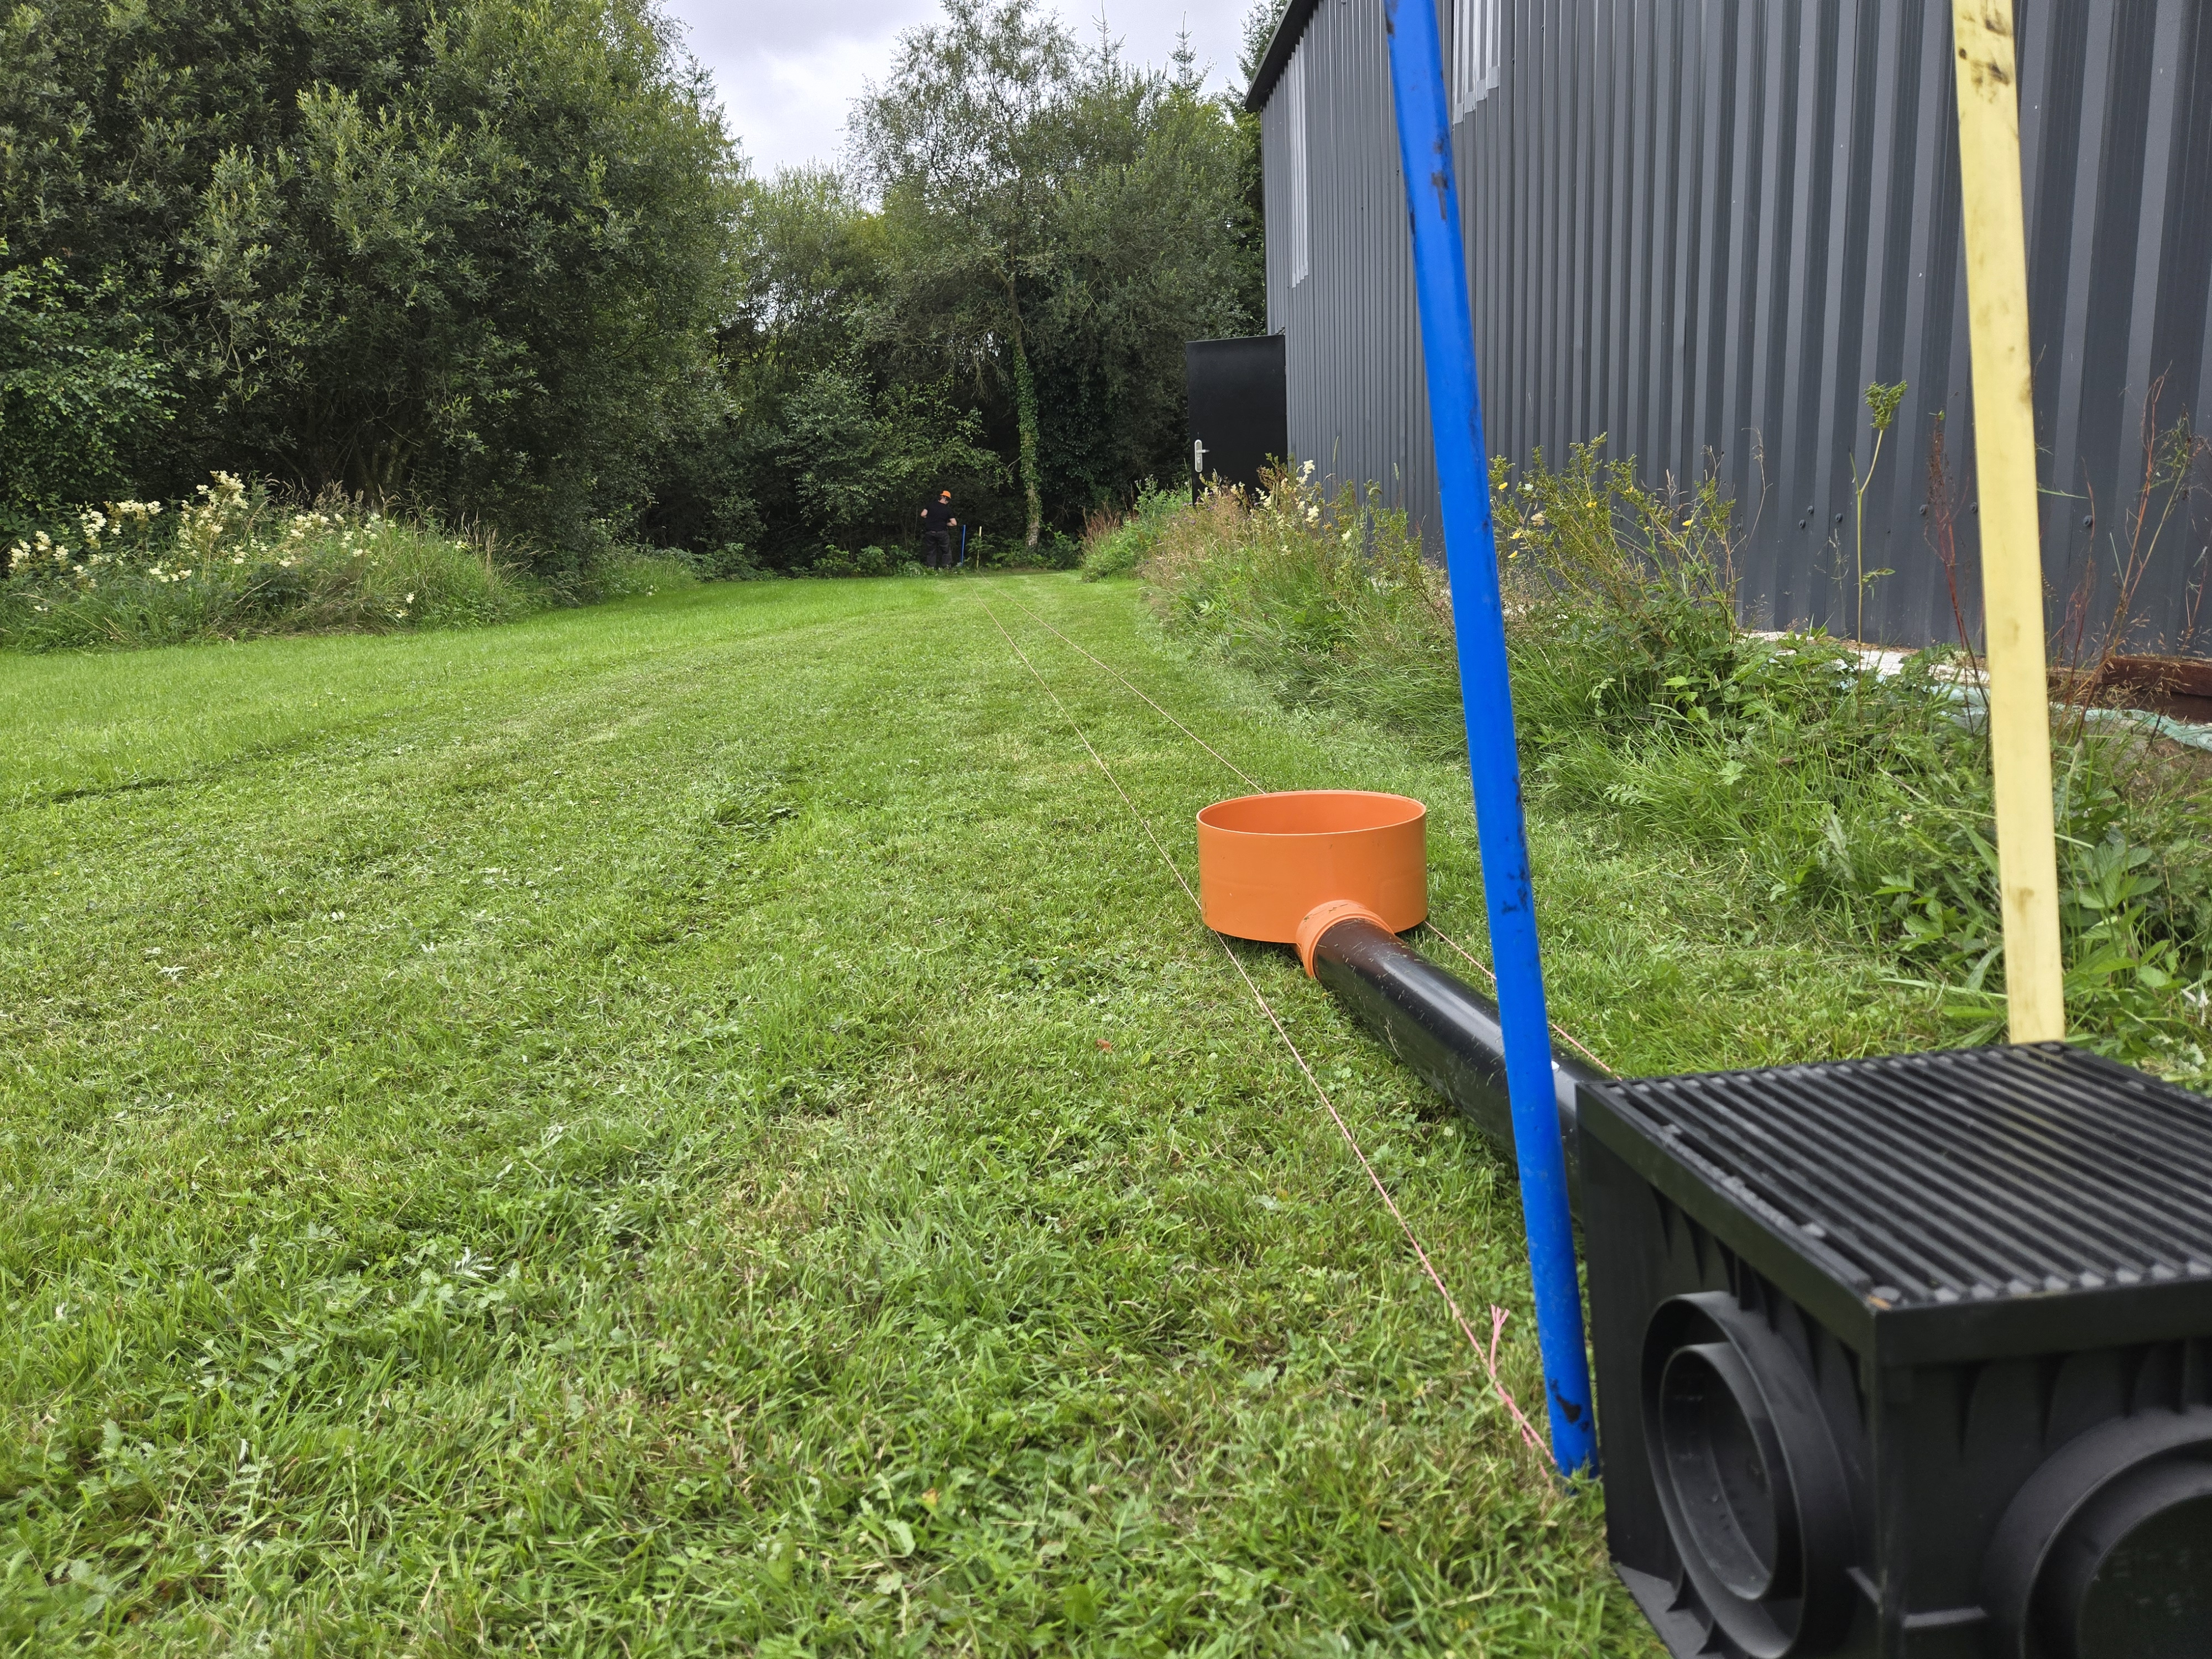
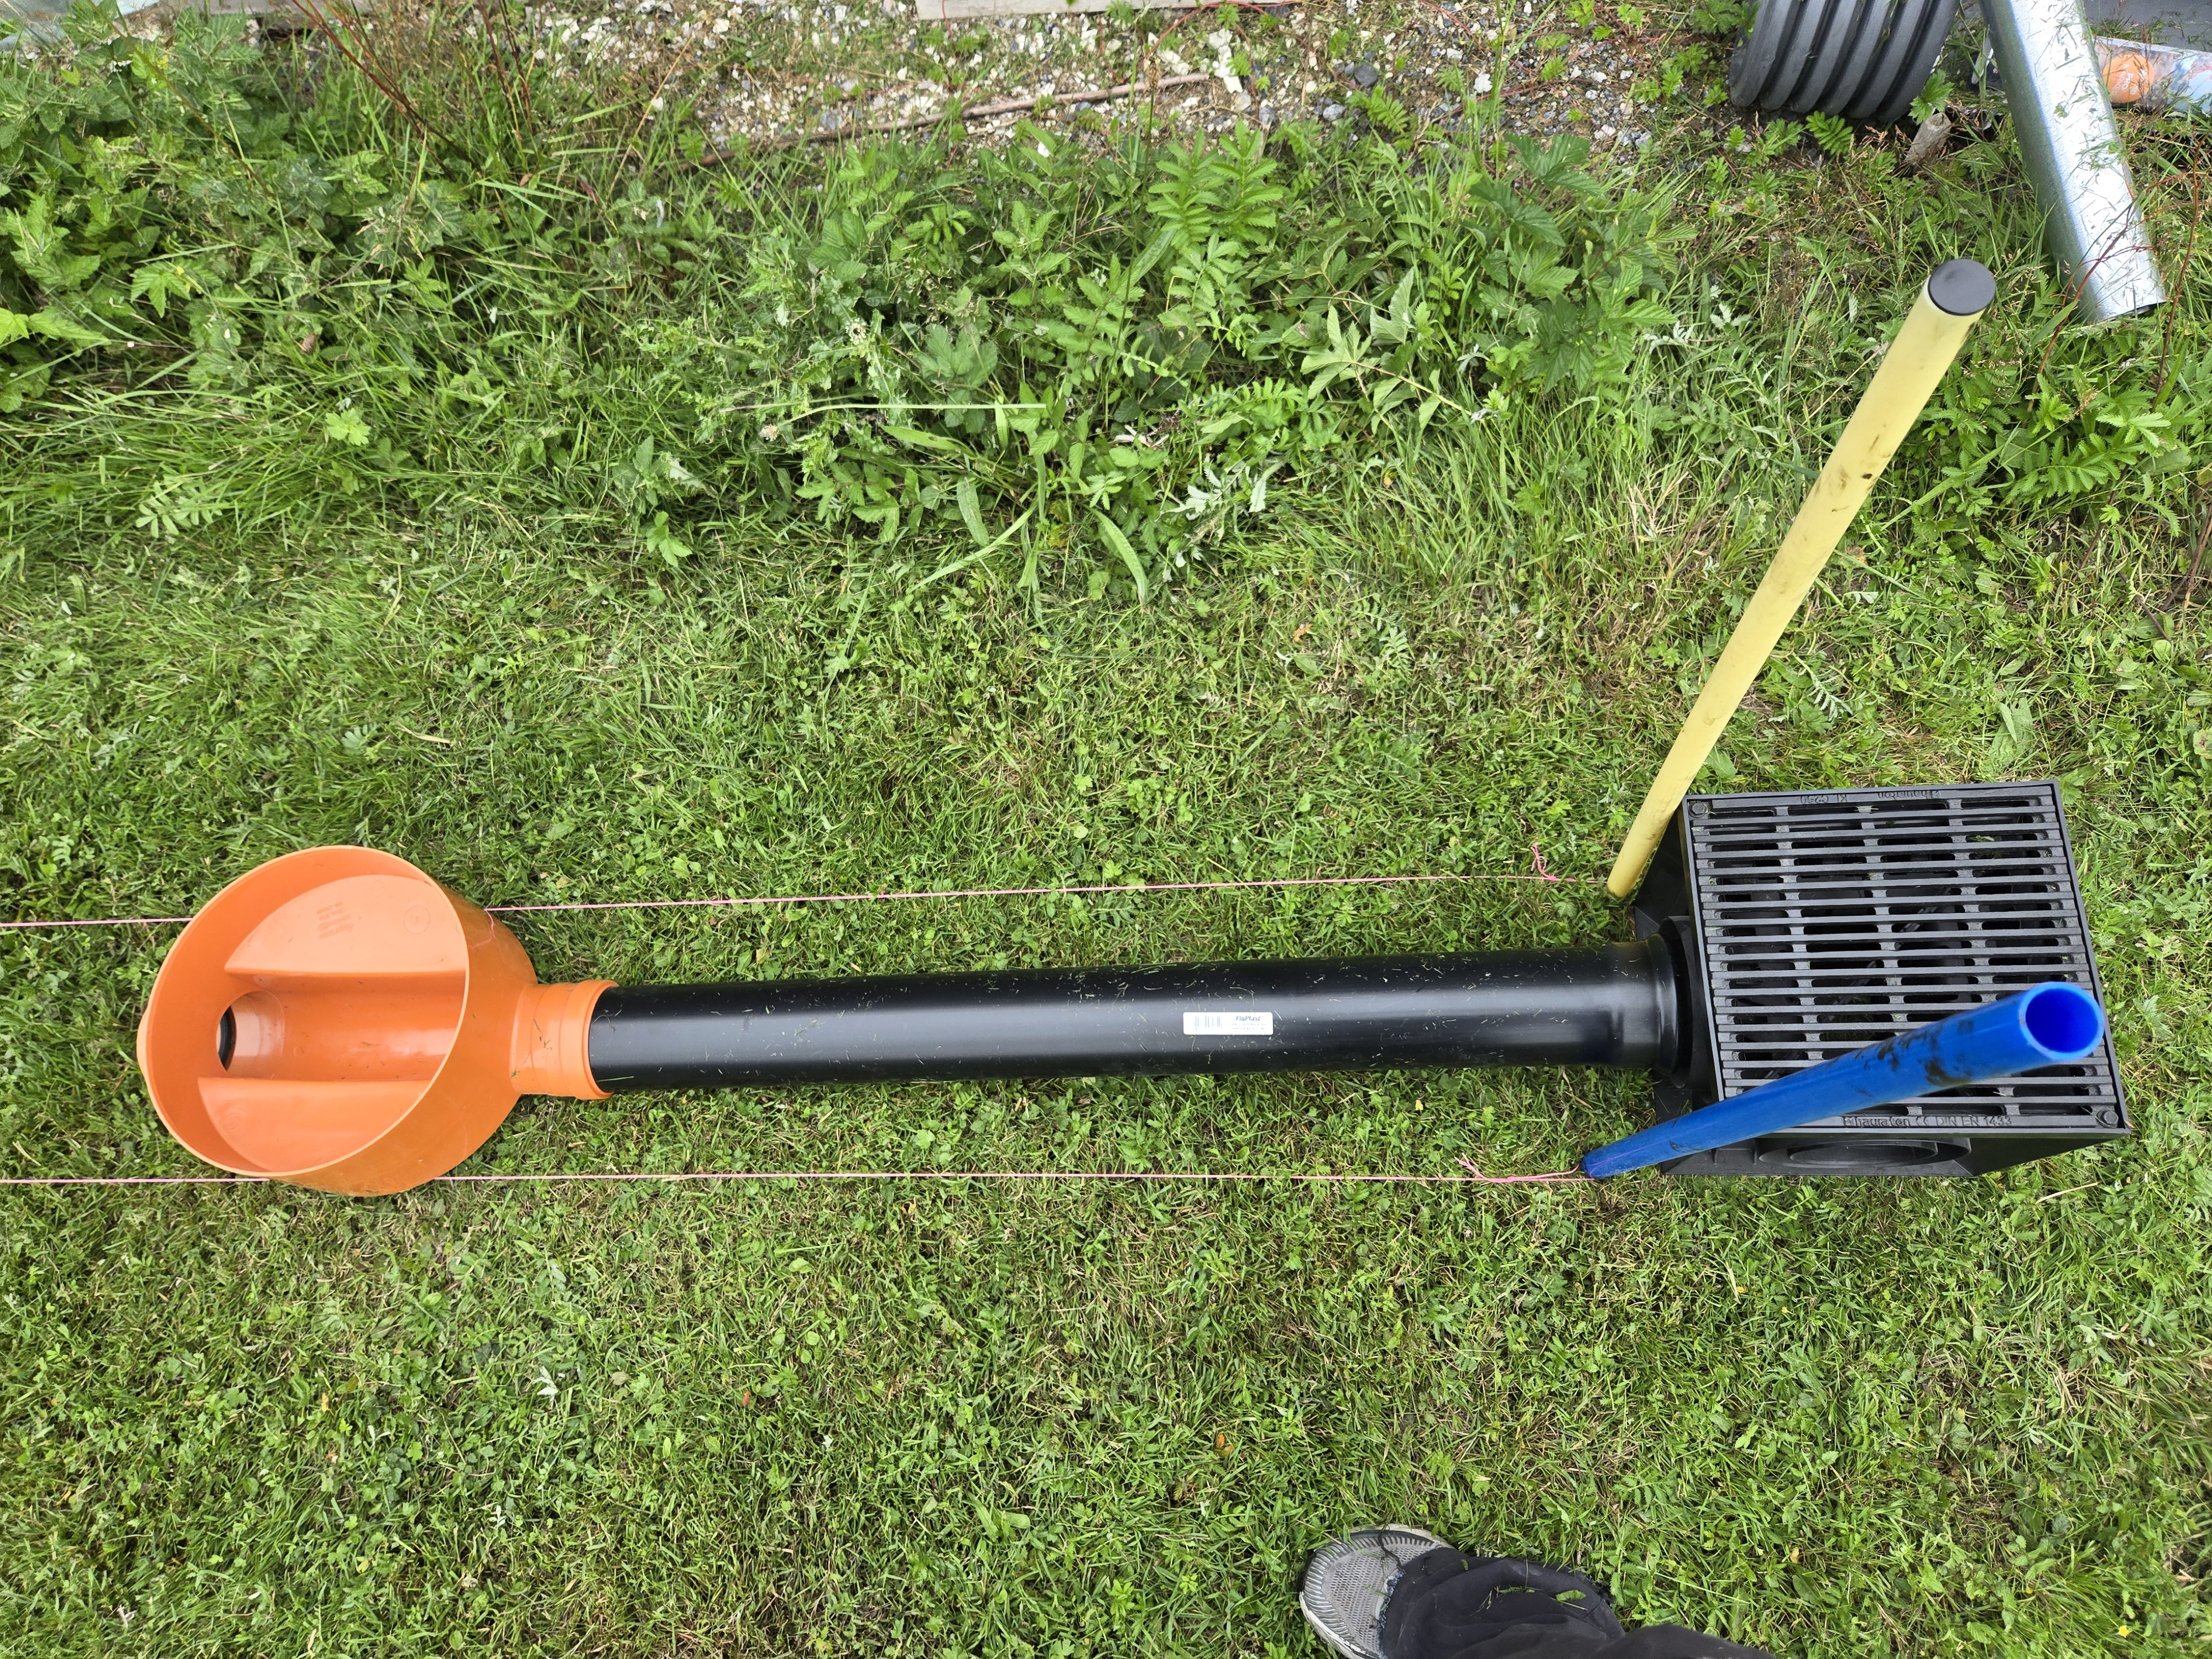
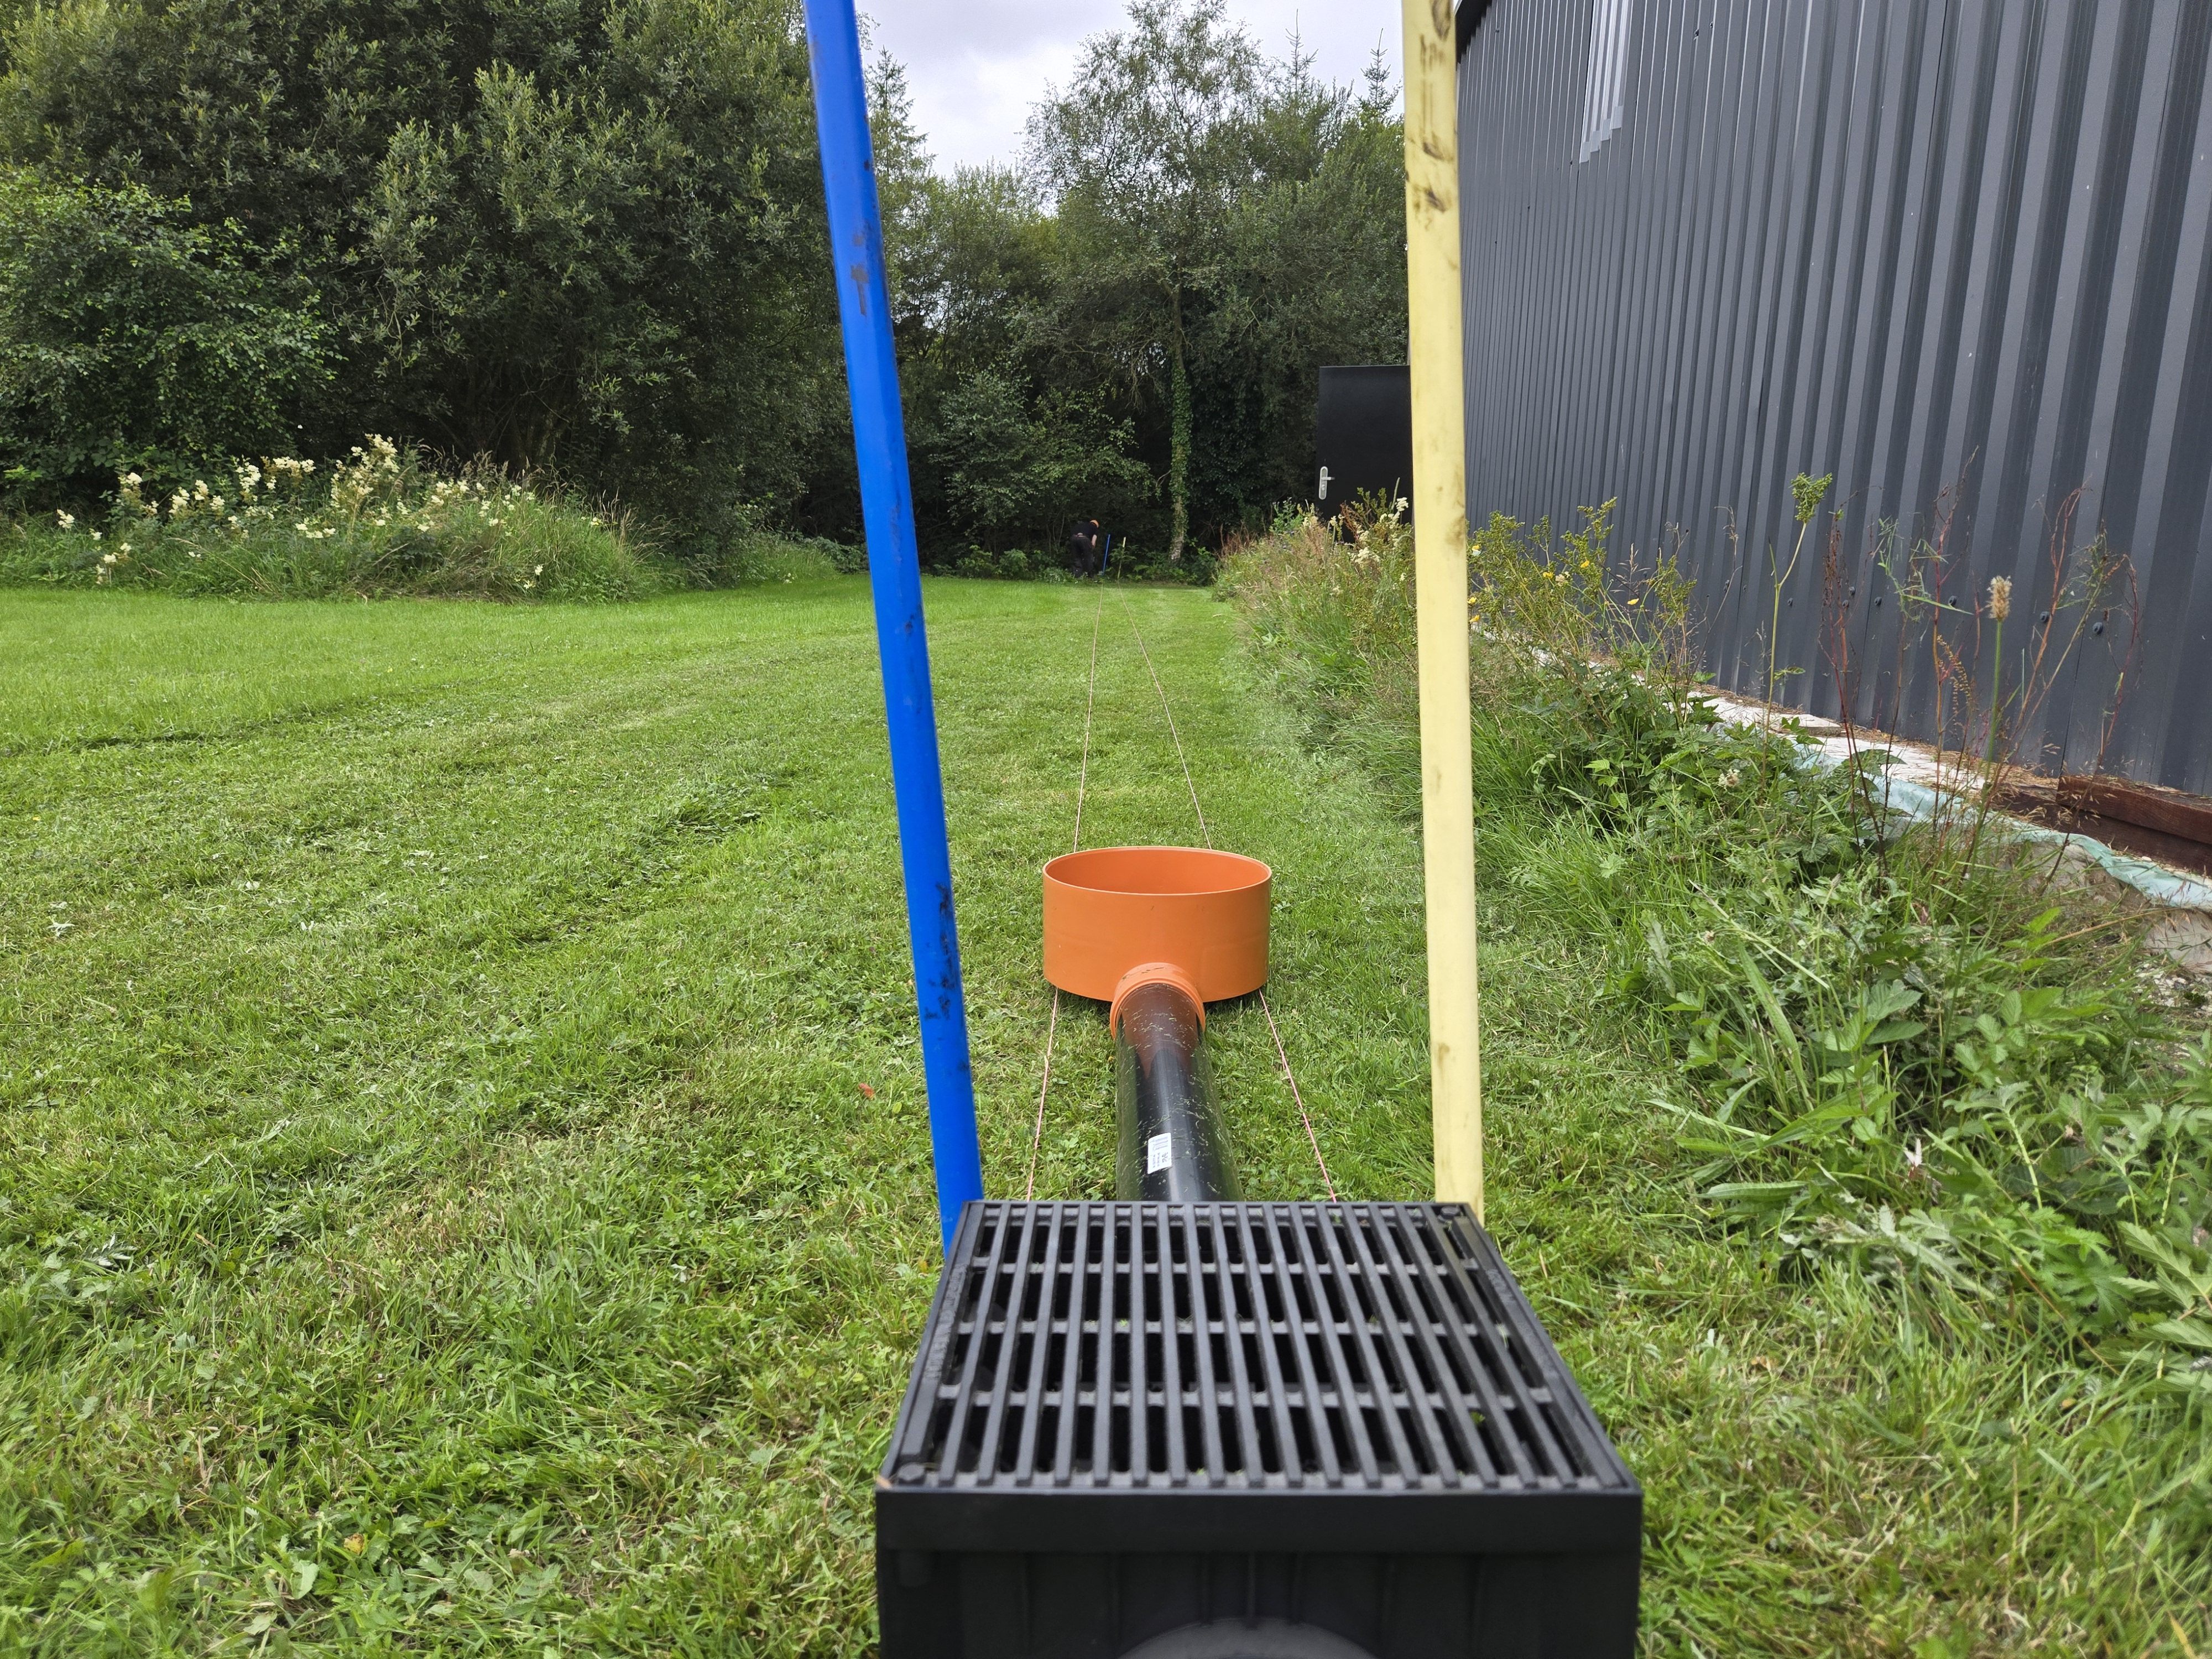
We used yard gullies for this project because of their nice neat fit but also very good debris capture. The diagonal line you see in the gully is a handle which lets you pull out the debris capture pot to clean it all out. Internally there is a shroud in front of the outlet to further prevent debris heading down the pipe. The yard gully and rodding access were both gotten from Goodwins in Lucan along with the riser for the access junction and the cover for that junction. We got some 1m lengths of 110mm soil pipe from Screwfix rather than getting a 4-6m one and cutting it up.
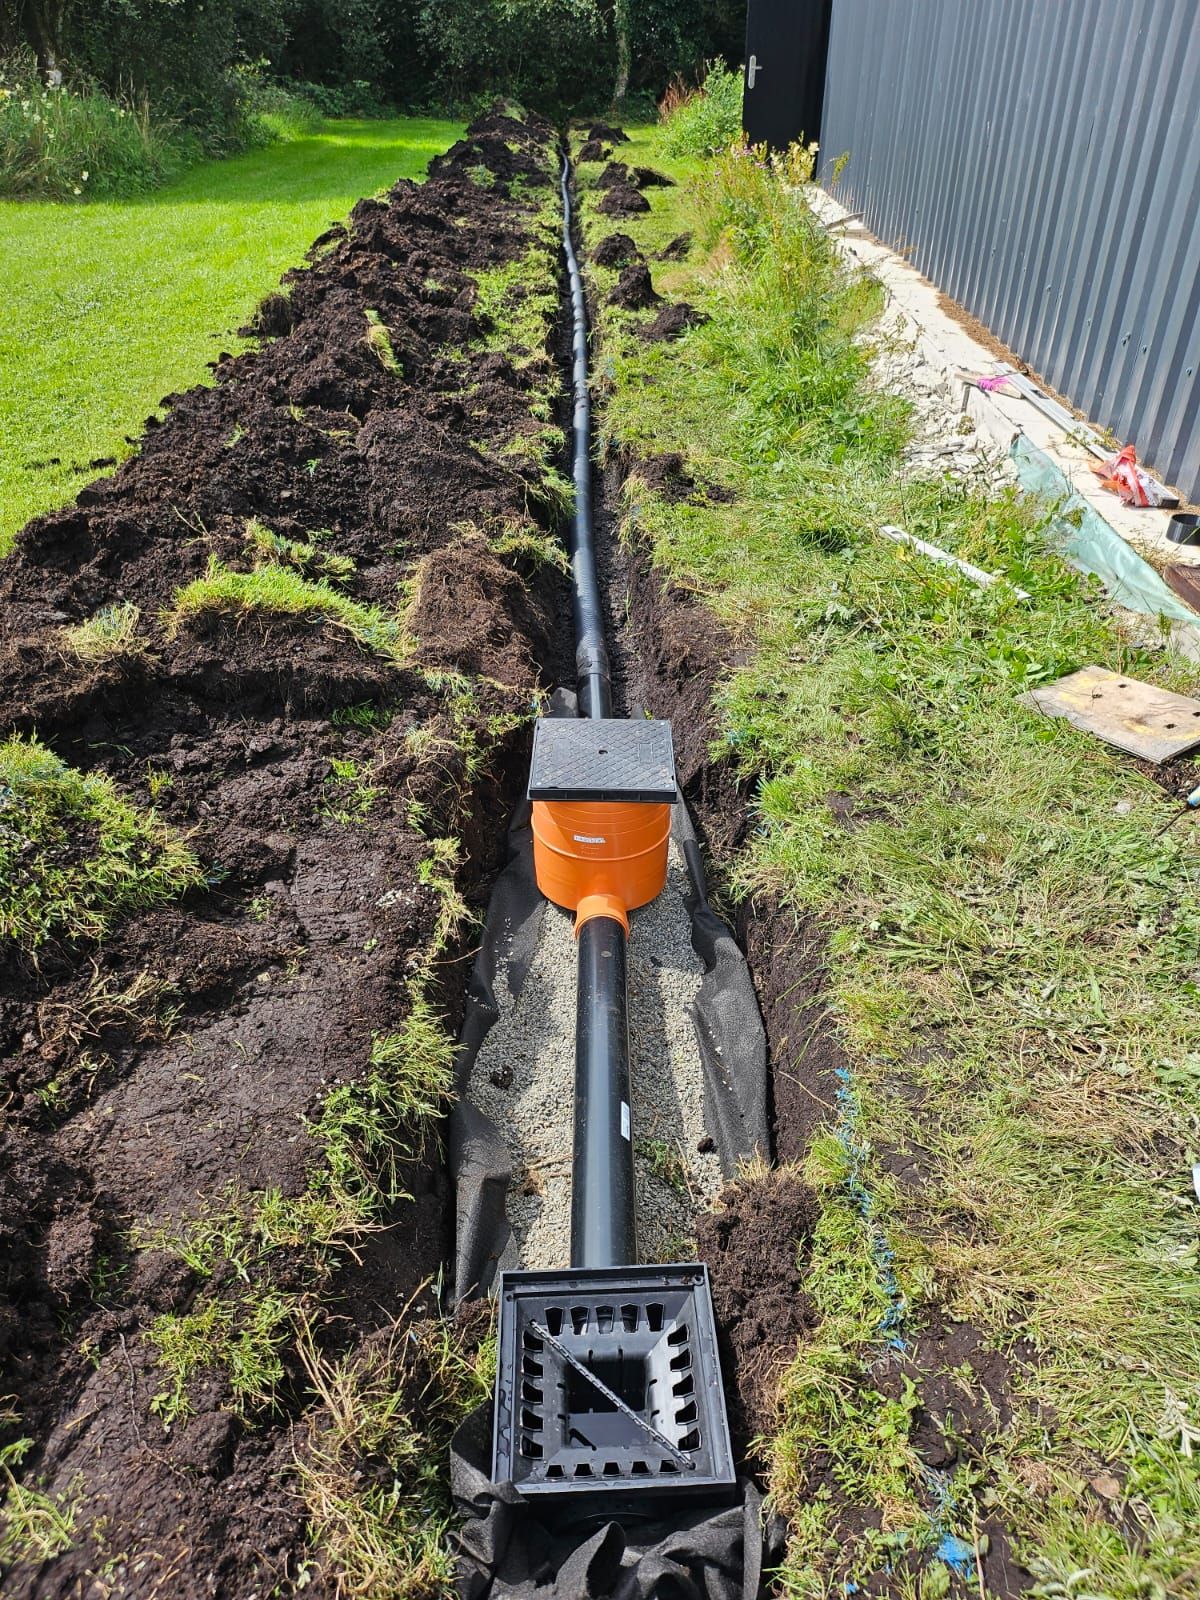
We placed everything in the ground on top of some membrane and stone. This is to prevent the stone from sinking into the soil and the whole setup from sinking at all.
We then fitted the corri pipe to the setup. We chose 6m lengths of twin wall pipe for ease of moving around which came with couplers. This pipe was 100mm in diameter. We got adapters for 100mm to 110mm from eBay but they did not work at all. Thankfully the couplers fit the 110mm pipe perfectly to connect between the two systems. Of course on second look I see there were 110mm version of this pipe too.
Fill it all in again
We put some large sods of grass around the pipe along the length to secure it in place. It is easy to accidentally shift pipe and create high and low spots if we just pop the soil straight in. I didn't take a picture with the grill on the gully yet and the soil needs to be raked still.
Don't judge me for the not parallel squares!
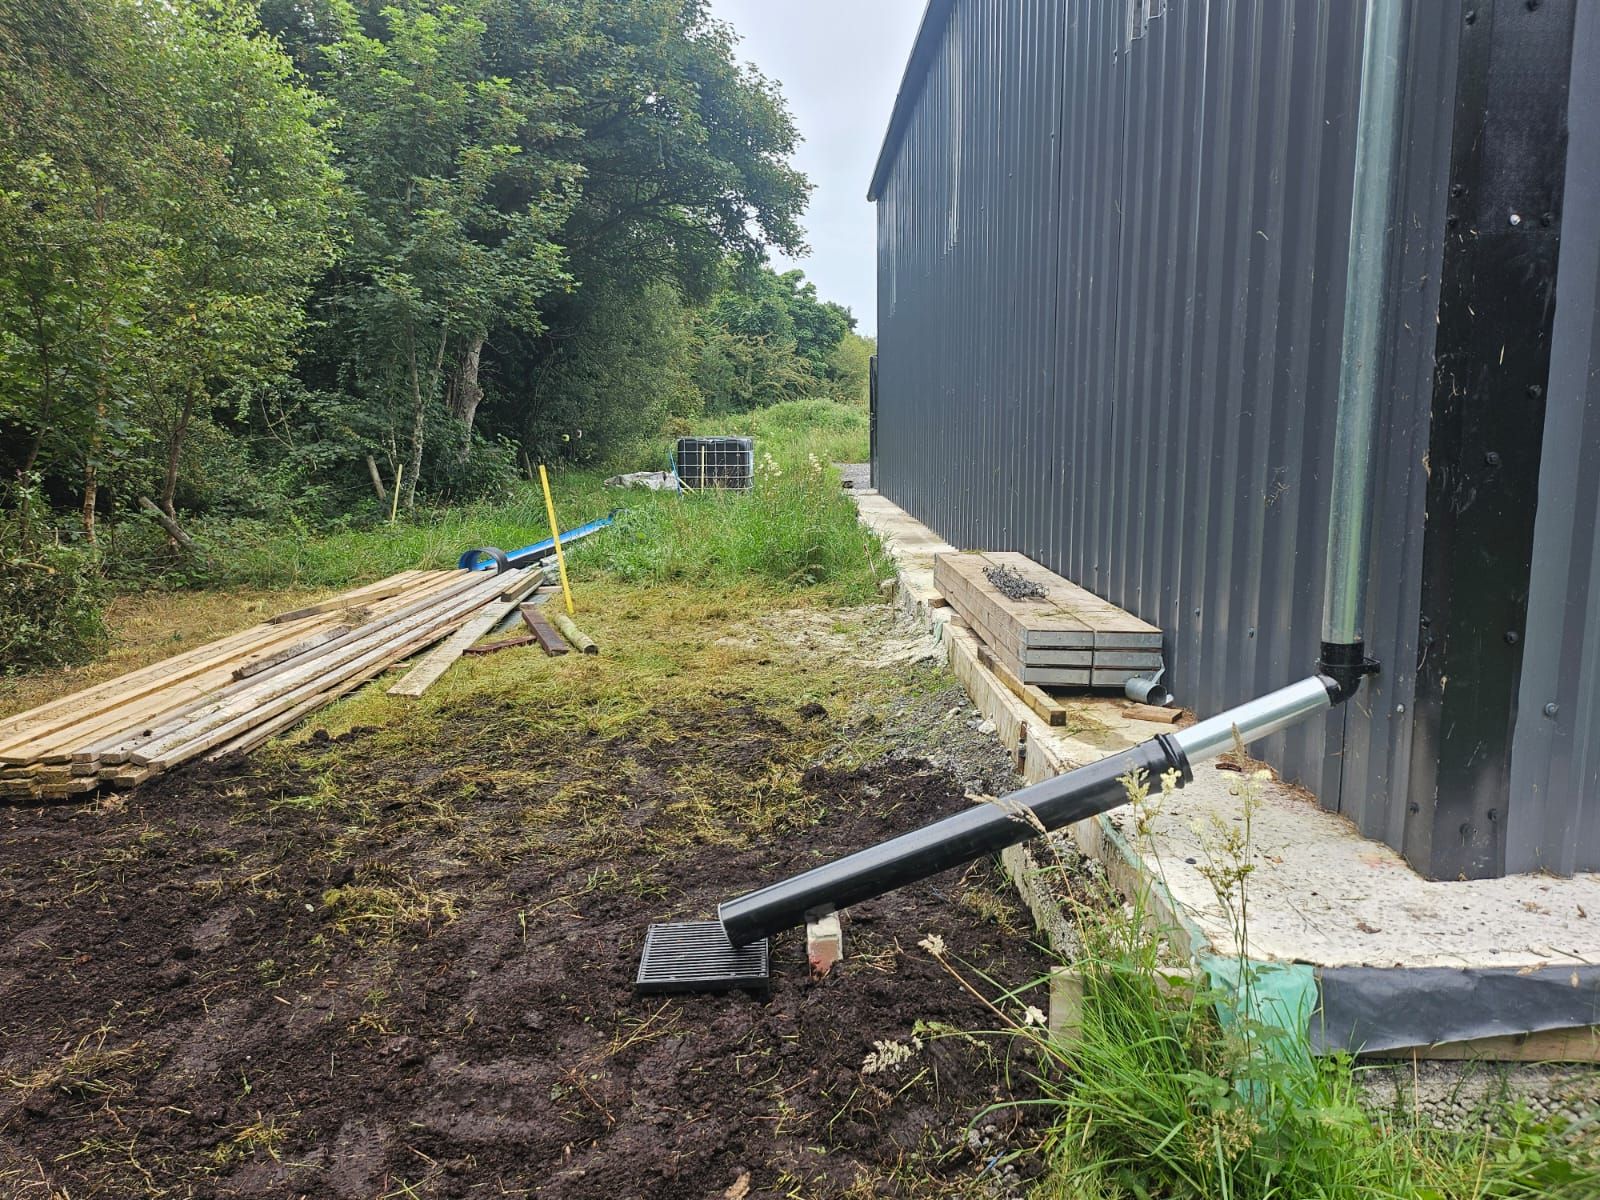
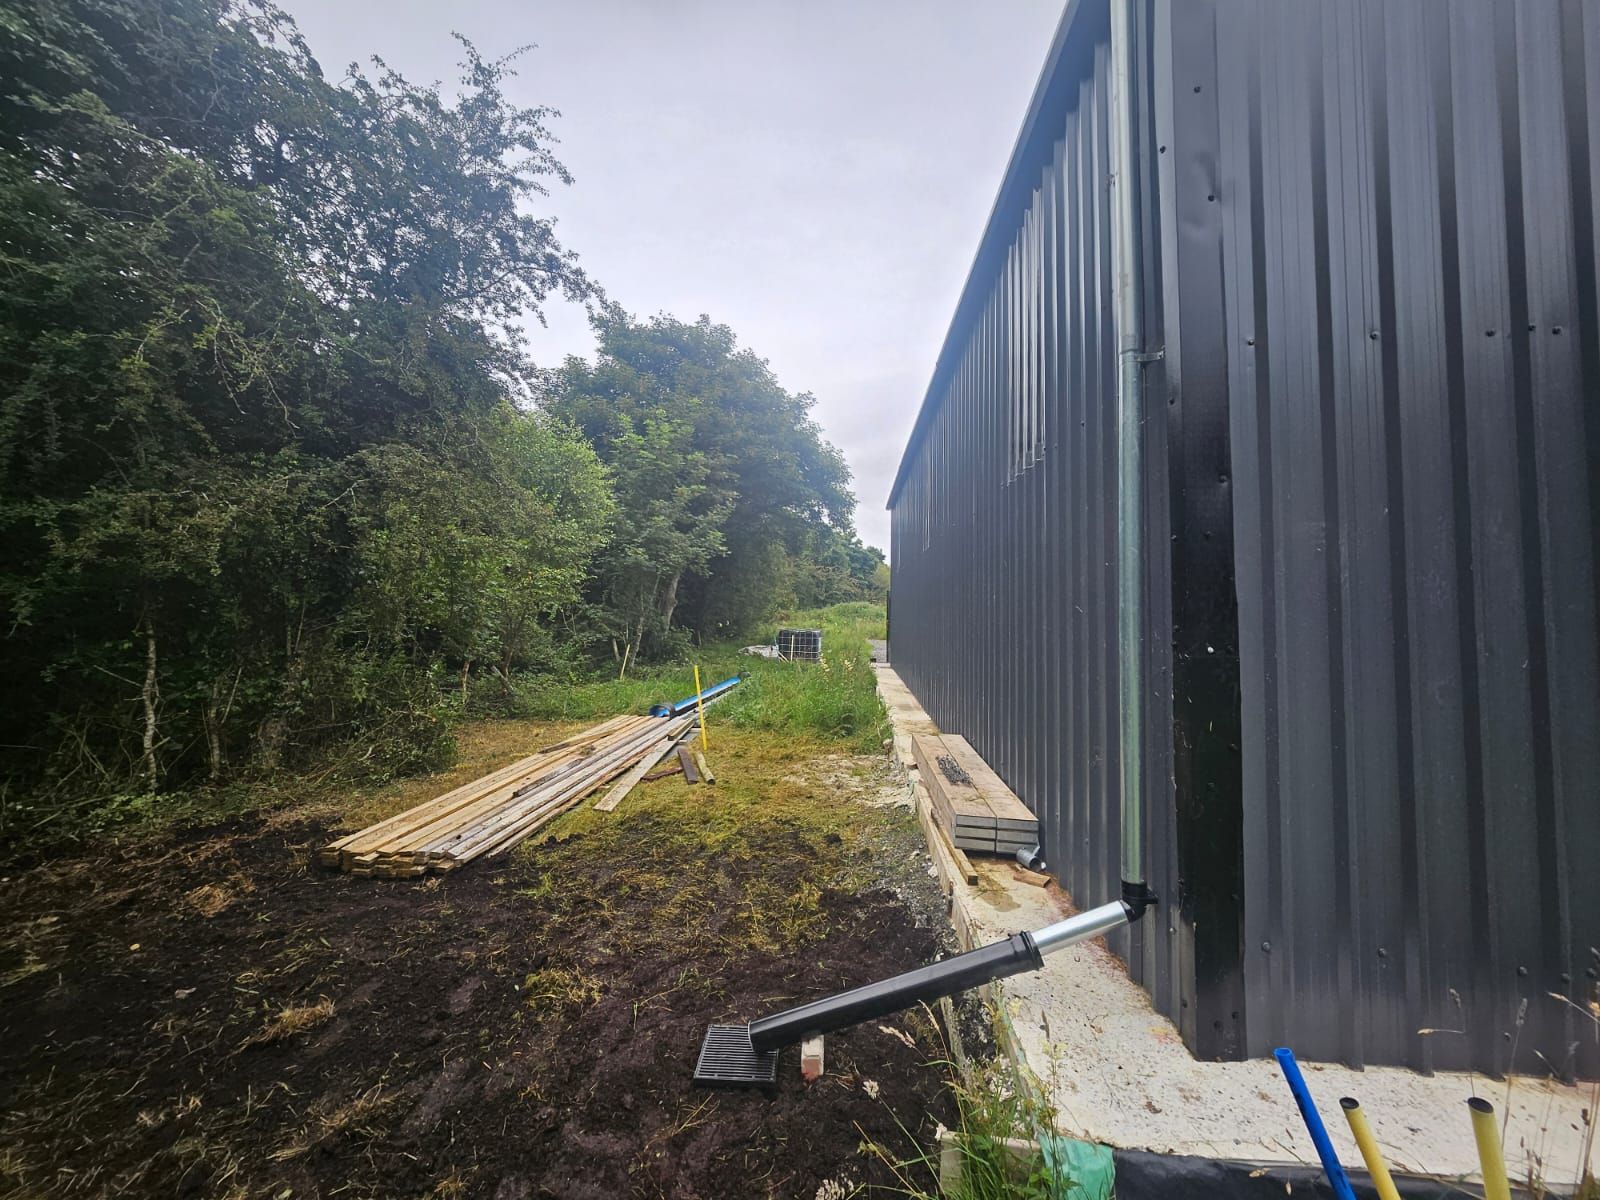
Still to do is to put a concrete collar on both gullies so that water that lands anywhere near them drains into the gully and also need to rejig the downspouts to land at the gully.